Introduction
For lighting designers, event technicians, or DJs just starting out, DMX (Digital Multiplex) may seem like an intimidating world of channels, addresses, and control codes. But with the right approach, mastering DMX basics is simple—and powerful. This article provides a 5-step framework to help you start programming a DMX-Controlled LED Par Light or any DMX-compatible fixture with confidence.
Whether you're setting up a small club, a wedding show, or a mobile rig, these core concepts will form the foundation of your lighting control journey.
Step 1: Understand What DMX Is
DMX512 is a digital communication protocol used to control stage lighting and effects. It sends control data from a controller (like a lighting console or software) to fixtures through a chain of 3-pin or 5-pin XLR cables.
Key Concepts:
Universe: One DMX universe can carry 512 channels
Channel: Each function (color, dimmer, strobe) uses one or more channels
Address: Where in the channel stream the fixture starts reading commands
For example, a DMX-Controlled LED Par Light with 7 channels (R, G, B, W, UV, dimmer, strobe) would occupy channels 1–7 if set to address 1.
Step 2: Connect Your System
A typical setup includes:
DMX console or software
XLR cables (3-pin or 5-pin)
DMX fixtures (e.g., LED Par Lights, Moving Heads)
DMX terminator (optional but recommended)
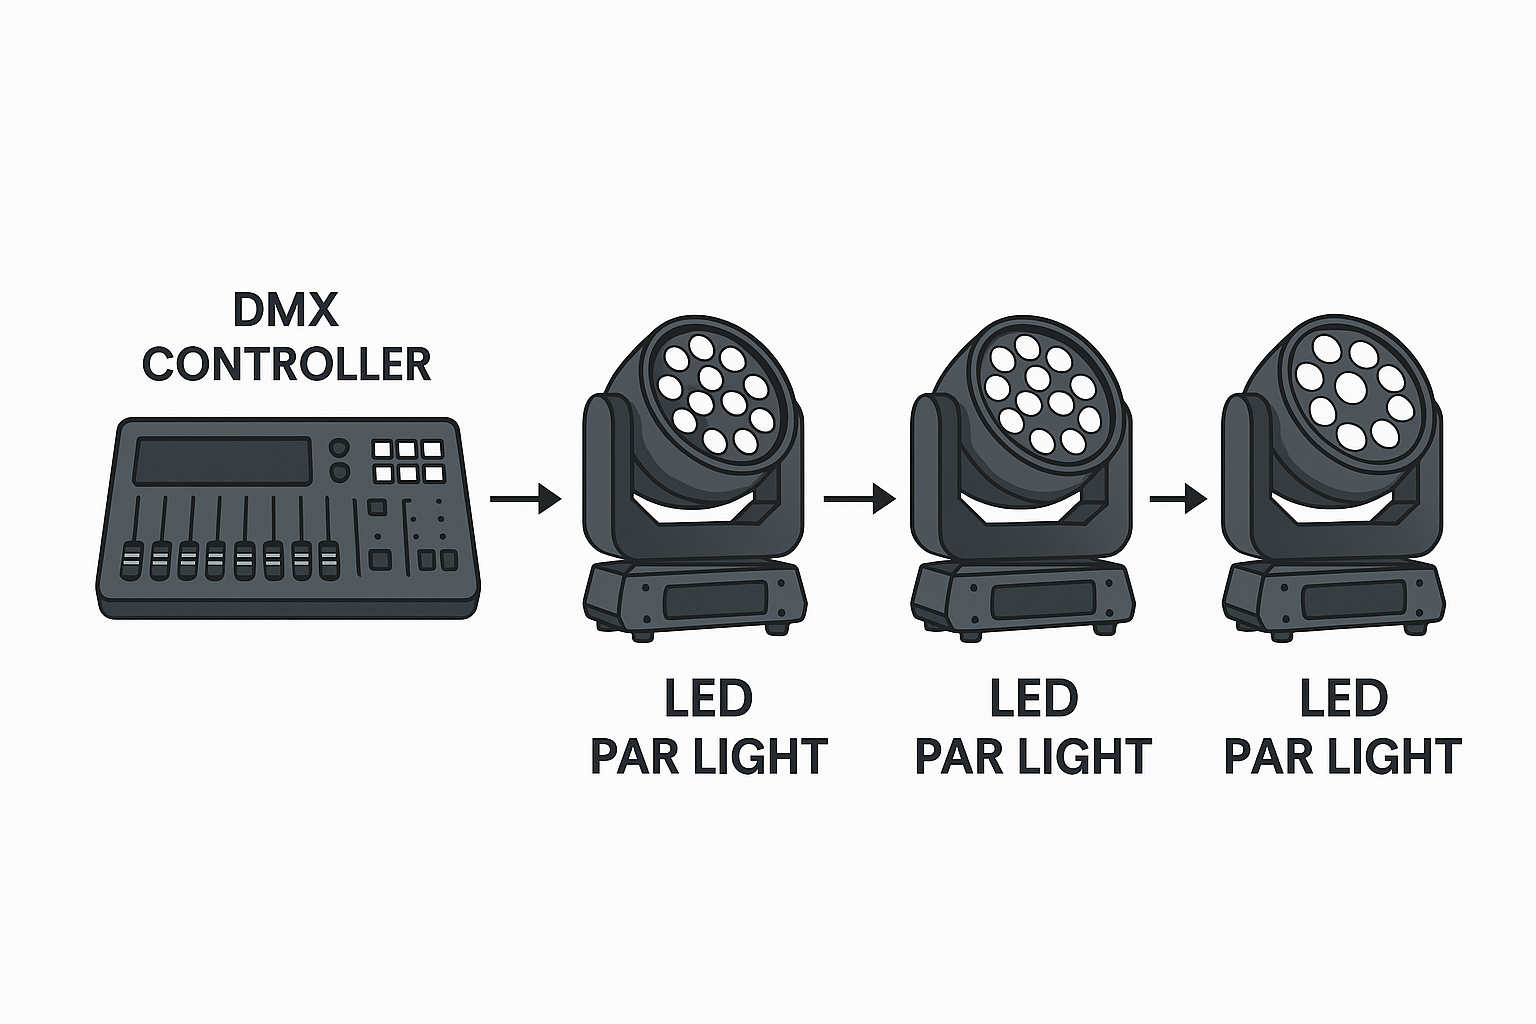
Wiring Order:
Connect DMX OUT from controller to DMX IN on first fixture
Chain DMX OUT from fixture to the next fixture’s DMX IN
End chain with a DMX terminator to prevent signal reflections
Tip: Always check cable labeling—power cables and DMX lines should never mix.
Step 3: Set Fixture Address and Mode
Each fixture must have a unique address to receive its commands correctly.
How to Set:
Use DIP switches or onboard menu to assign address
Select DMX mode (e.g., 7CH, 12CH, etc. depending on fixture features)
Match fixture documentation to channel layout
Example: If your first DMX-Controlled LED Par Light starts at address 1 and uses 7 channels, set the next one to address 8.
Step 4: Program Scenes and Cues
Once fixtures are connected and addressed, use the controller to assign commands:
Scenes: A static lighting look (e.g., red wash on stage)
Cues: Timed lighting changes triggered during a show
Chases: Sequences of lighting movements or changes
Faders/sliders: Control each channel live or preset levels
A basic cue might set:
Tip: Many software tools (like MyDMX, LightKey, or Chamsys) provide visual previews.
Step 5: Test, Save, and Label
Before showtime:
Test each fixture's reaction to cues
Save your programming in scenes or banks
Label all cables, fixtures, and addresses clearly
Use a scene recall device or simple DMX controller if running live
Consider making a DMX patch sheet to track what channel controls what function across all fixtures.
Common Beginner Mistakes & Fixes
| Mistake | Solution |
|---|
| All fixtures doing the same thing | Double-check address conflicts |
| Strobe won't stop | Verify strobe channel is at 0 or default value |
| Fixture unresponsive | Check cable direction and fixture is in DMX mode |
| Flickering or jittering light | Use a DMX terminator at end of line |
| Unexpected color output | Ensure correct mode (7CH, 9CH, etc.) is selected |
Why Start with a DMX-Controlled LED Par Light?
This fixture type is ideal for beginners:
Simple channel mapping (typically under 10 channels)
Bright output with low power consumption
Static, wash, and strobe functions in one
Affordable and widely available
Scalable from one to hundreds of units
Conclusion
DMX programming doesn’t have to be complicated. With just five steps—understanding DMX, connecting your system, assigning addresses, creating cues, and testing—you can be show-ready in hours, not weeks.
Start with easy-to-learn fixtures like the DMX-Controlled LED Par Light and build from there. Whether you're designing a party, church service, or theatrical performance, DMX is the key to unlocking creative control.
READ MORE:


