Introduction: The Art of Programming in Tight Spaces
Compact lighting consoles have become essential tools in today’s fast-paced lighting environments. Whether used for small venues, touring flypacks, DJ sets, or corporate events, these consoles pack surprising power into minimal footprints. But mastering them—especially when recording playback cues—requires careful technique.
This article explores how to efficiently record, edit, and organize playback cues on compact lighting consoles, ensuring professional results even in space-limited setups.
What Are Playback Cues?
Playback cues are pre-programmed lighting states or sequences that can be triggered during a show. They may include:
Intensity fades
Color changes
Movement paths (pan/tilt)
Effect chases
Gobo transitions
Cue stacks with timing and follow instructions
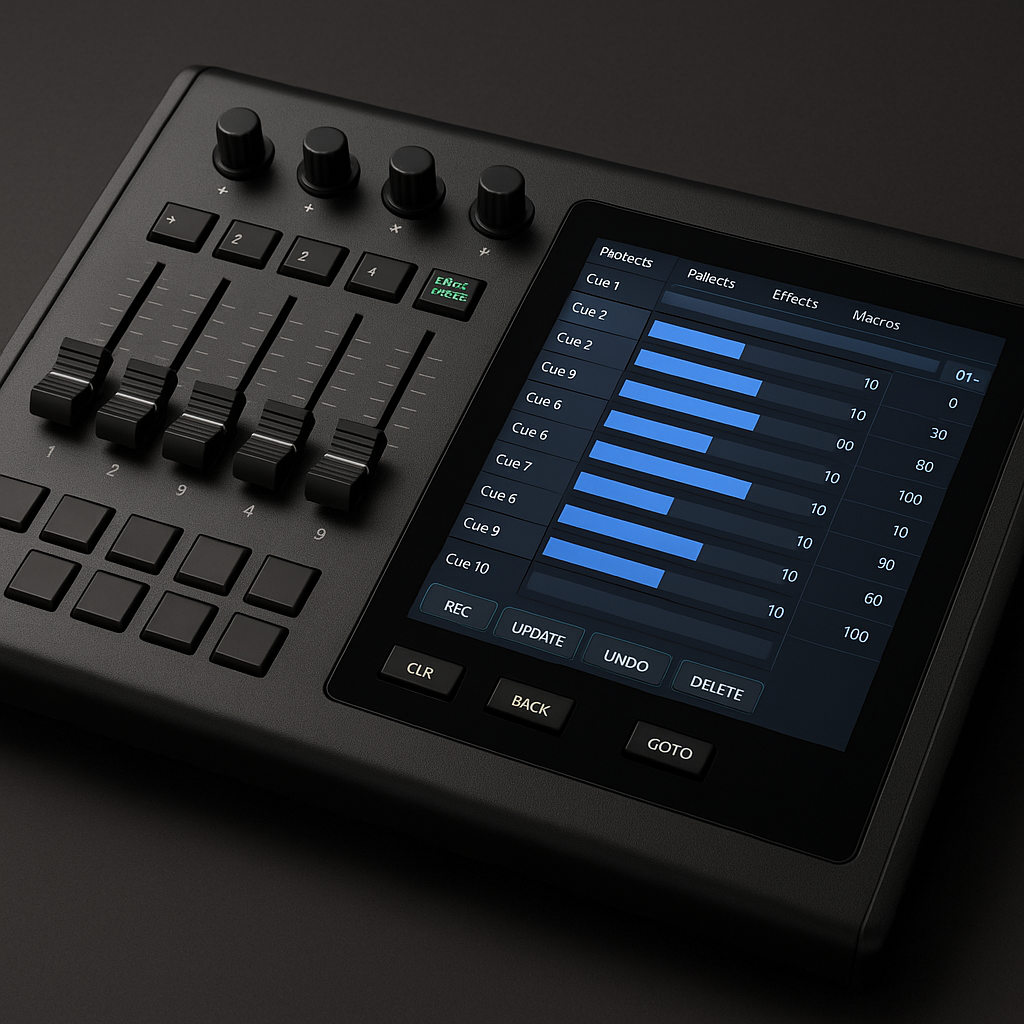
On compact consoles, playback cues are usually assigned to faders, buttons, or touchscreen virtual executors.
Key Limitations of Compact Consoles
While modern compact consoles (e.g., ETC Colorsource, ChamSys QuickQ, MA3 Compact XT, Avolites Titan Mobile) offer impressive capabilities, they have some practical constraints:
Limited physical faders and buttons
Fewer universes or output channels
Smaller touchscreens
Reduced layer depth (fewer pages/submasters)
No external monitors or keyboard input (in some cases)
Thus, organizing playback cues becomes more critical than on a full-size desk.
Step-by-Step: Recording Playback Cues
1. Patch and Label Fixtures First
Before recording cues:
Patch all fixtures correctly
Assign fixture groups (e.g., “Stage Wash”, “Backlight”, “FX Movers”)
Label groups and positions clearly for quick recall
Compact consoles thrive on smart labeling and efficient fixture navigation.
2. Build a Look Using Programmer or Live Controls
Activate desired attributes using intensity faders, color pickers, gobo wheels, pan/tilt encoders, or touchscreen options.
Ensure you’re not recording unnecessary parameters. Use tools like:
“Clear All” before starting
“Include Only” to restrict attributes
Filter by function (e.g., Intensity only)
3. Record to a Playback Executor
Once your look is ready:
Press [Record]
Select an available playback fader or button
Name the cue (e.g., “Scene 1 - Red Wash”)
Some consoles allow:
Cue stacks (multiple steps in one playback)
Single step playbacks for quick transitions
Chases or effects triggered from buttons
4. Choose Trigger and Timing Options
Playback behavior can vary:
LTP vs. HTP priority (e.g., latest takes priority vs. highest wins)
Fade and delay times
Go-on-release, Latch, or Flash behavior
Priority over other cues (useful for blind overrides or solos)
On consoles like ChamSys or Avolites, cue properties can be accessed and edited by holding [View Cue] or similar.
5. Organize with Pages and Labels
Since compact consoles offer fewer executors:
Group related cues on the same page
Use naming conventions (e.g., “S1.Intro”, “S1.FX”, “S2.Wash”)
Label pages by scene, song, or sequence section
On touchscreens, label virtual buttons with icons or color for faster recognition during shows.
6. Test Your Playback
Always run playback tests:
Check timing and transitions
Confirm cue overwrites or priority levels
Ensure nothing “sticks” unexpectedly (e.g., effects not clearing)
Use a test fixture or output visualizer (if available) to simulate cue transitions before performance.
Advanced Playback Techniques
Macro Assignments
Many consoles allow basic macro behavior:
Triggering another cue or chase
Resetting fixture attributes
Fading out other playbacks when one starts
Assigning macros to cues reduces manual steps and ensures smoother transitions.
Intensity Masters
Assign playback faders as intensity-only masters:
Cue stack remains active, but fader controls brightness
Helpful for background washes or audience blinders
Busking with Flash/Go Buttons
If programming time is limited, record flash hits or intensity pops to playback buttons. Use them during shows to:
Pop white effects
Hit beats with strobes
Override with spot focus
This busking approach suits DJs, festivals, and corporate gigs.
Cue Stack Linking
Link multiple playback cues to fire sequentially or automatically:
“Go after delay” triggers next cue after X seconds
Link with music/timecode (on advanced consoles)
Even small consoles support basic linking, enabling dynamic scene builds in one fader.
Troubleshooting Common Issues
| Issue | Likely Cause | Fix |
|---|---|---|
| Cue not firing | Attributes not recorded | Ensure correct fixture data is in programmer |
| Cue overwrites other effects | Priority conflict | Adjust LTP/HTP or isolate playbacks |
| Button cue doesn’t release | Latch mode active | Set to "Flash" or "Go on Release" |
| Unwanted fades | Global timing overrides | Set cue-specific fade/delay manually |
| Cue works once but not again | Tracking or release error | Check release settings after cue ends |
Tips for Efficient Use
Back up frequently via USB or cloud
Use fixture groups to speed programming
Keep a paper cue list in case of touchscreen failure
Name cues descriptively to avoid mid-show confusion
Use rehearsal time to rehearse paging and cue recalls
Ideal Use Cases for Compact Consoles
Small to mid-sized theatres
Portable church lighting rigs
Temporary event setups
Streaming or broadcast rooms
Festival busking rigs
Touring opener acts
Compact doesn’t mean compromised—it means intentional. With planning and mastery, even limited hardware can support sophisticated cue workflows.
Conclusion: Big Looks from a Small Console
Recording playback cues on compact lighting consoles is all about efficiency, creativity, and preparation. These small-format desks are more powerful than ever, but demand a thoughtful approach to cue organization and trigger structure.
When time, space, or budget are tight, compact consoles can still deliver professional-grade results. By mastering playback workflows—whether through layered faders, cue stacks, or smart macros—lighting operators ensure smooth, impactful performances with minimal hardware.
READ MORE:


Blue Sea Lighting is an enterprise with rich experience in the integration of industry and trade in stage lighting and stage special effects related equipment. Its products include moving head lights, par lights, wall washer lights, logo gobo projector lights, power distributor, stage effects such as electronic fireworks machines, snow machines, smoke bubble machines, and related accessories such as light clamps.
Quick Links
For more questions subscribe to our email