Introduction
Installing a professional stage lighting system requires comprehensive planning, technical know‑how, and the right products. For venues ranging from theaters to concert halls, Blue Sea Lighting delivers precision-engineered fixtures and seamless workflows that elevate performances and ensure safety and reliability .
1. Project Planning & Design Phase
Outline venue requirements, power availability, rigging points, aesthetic goals, and technical constraints. Use CAD lighting design tools and DMX mapping software to simulate illumination and color transitions.
2. Equipment Selection
Choose fixtures that match venue scale and desired effects. From Blue Sea Lighting's lineup, two versatile options include:
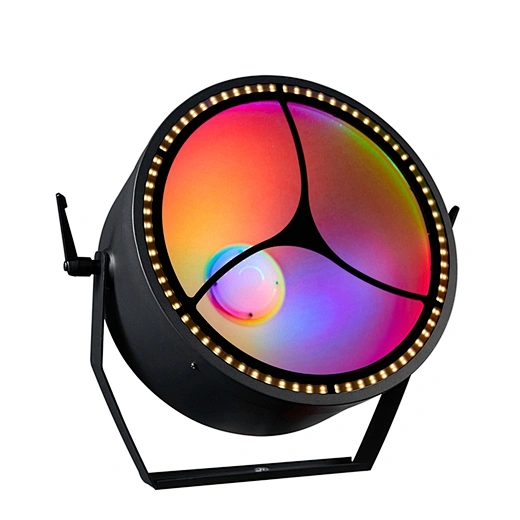
a. 15 W RGB Moving Laser Light with LED Ring
A compact laser fixture offering dynamic graphics and ring effects, DMX512/mode control, and both sound-activated and DMX operation. Ideal for accent lighting, DJ booths, KTV venues, and atmospheric foreground effects.
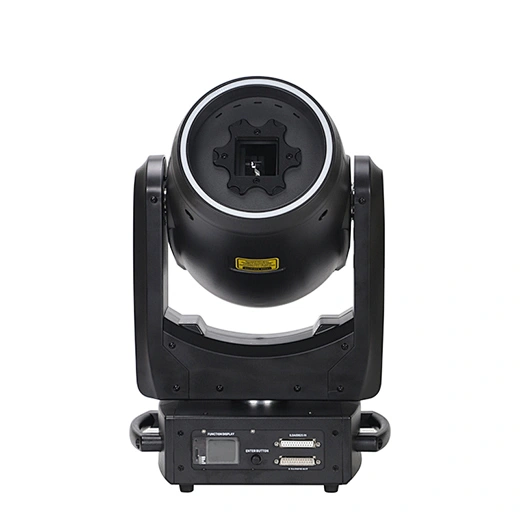
b. Retro LED Moving Stage Light with Warm White & RGB Backlight
Versatile moving-head fixture with warm white and RGB backlighting, CCT options (5000K/6000K), strobe and marquee effects, DMX control, and silent cooling. Great for ambient stage wash and multicolor mood lighting .
3. Pre-Installation Setup
Unpack and inspect all fixtures for damage and operation.
Conduct bench testing of DMX channels, fixture response, and firmware.
Label all power and DMX cables.
Organize installation tools: truss clamps, safety ropes, tags, surge protectors, and user manuals.
4. Rigging & Mounting
Install fixtures at designated truss or scaffold points:
Overhead positions for spot and beam lights.
Side-wall or floor positions for ambiance and wash lighting.
Ensure IP-rated attachments if installing outdoors or in humid venues.
5. Cabling & Power Management
Run power lines (AC/DC as required) and DMX cables (TV 8‑pin or XLR 5‑pin).
Use cable clamps and secure tie-downs to prevent movement.
Deploy surge protectors and isolate dimmer racks when needed.
6. Control System Integration
Connect all fixtures to a DMX controller or lighting console.
Assign channels and configure control modes (laser, wash, beam).
Verify master/slave or sound-sync modes for compatible fixtures.
Test sound-activated features, strobe/macros, and ring/laser effects.
7. Programming & Commissioning
Design lighting cues and scenes: fades, beam sweeps, strobing, and color transitions.
Use timeline or MIDI/timecode integration for live musical alignment.
Perform cue-by-cue commissioning checks, ensuring each fixture responds as expected.
8. On-Site Adjustments & Fine-Tuning
Adjust beam angles and focus.
Balance intensity and color across fixture positions.
Use lens accessories or gobos if needed.
9. Safety Checks & Documentation
Inspect rigging anchors, clamps, and redundancy lines.
Confirm electrical grounding and equipment protection.
Create system documentation: DMX map, power distribution plan, maintenance schedule.
10. Maintenance & Handover
Provide maintenance guidelines: cleaning, firmware updates, ventilation checks.
Deliver operational manuals and DMX configuration charts to venue staff.
Conduct walkthrough training and live demo of cues and emergency procedures.
Conclusion
Implementing a reliable professional stage lighting system depends on structured process, technical rigour, and quality fixtures. With products like the [15 W RGB Moving Laser Light with LED Ring] and [Retro LED Moving Stage Light with Warm White & RGB Backlight], Blue Sea Lighting™ offers dependable, feature-rich tools for a wide range of environments and performance styles. Following this step‑by‑step process ensures a seamless installation, powerful visual results, and long‑term reliability.


